Cricut DIY pink and silver Valentines treat jar (with hand-lettered SVG)
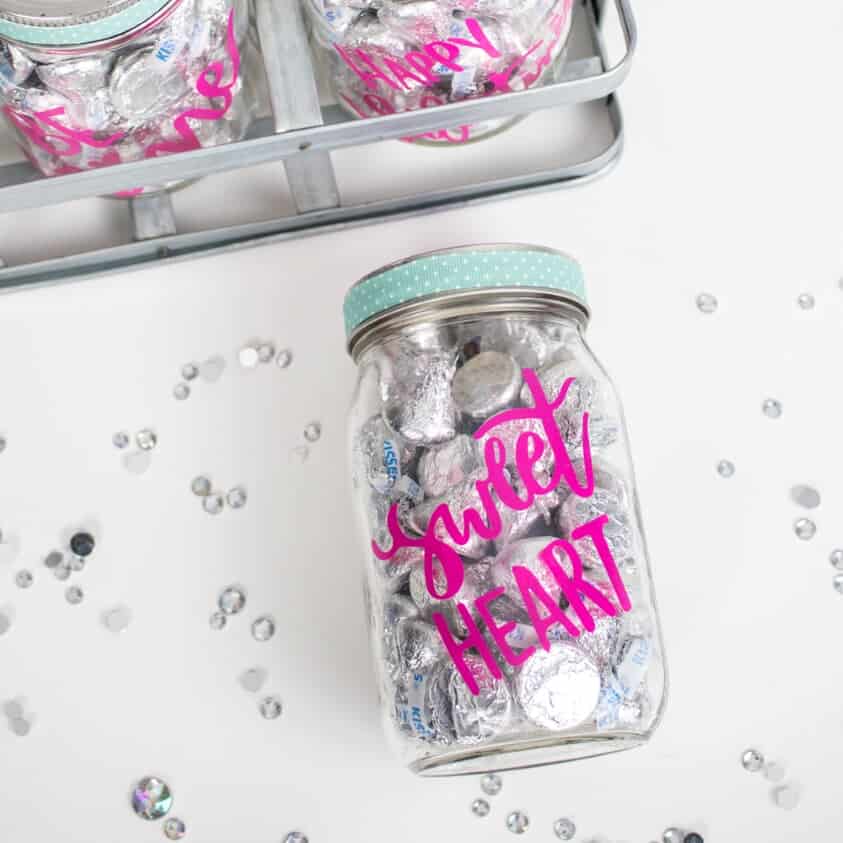
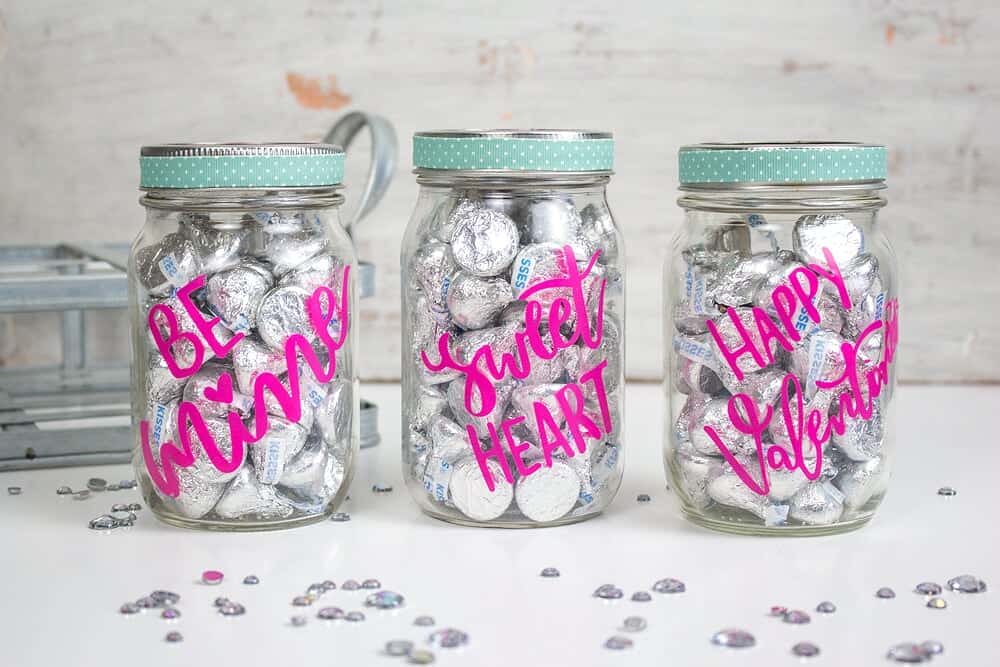
These Cricut DIY pink and silver Valentine's treat jars are the perfect gifts for Valentine's Day.
I love my Cricut but there’s definitely a learning curve to it. The Cricut Design Space is a great way to get started if you’re fearful of your new machine. I made a ton of cards before I got into anything with vinyl. But after a few tries, I moved on from cards, went to t-shirts, and now I’m crafting just about anything. One thing I like to do is give all the Girl Scouts and teachers a fun Valentine’s Day gift. These Cricut DIY pink and silver treat jars are the perfect gifts for Valentine’s Day. I also add a little gift card for our girls’ teachers to enjoy with their kisses.
If you’re just starting out, or want a quick craft, try these sweets jars!
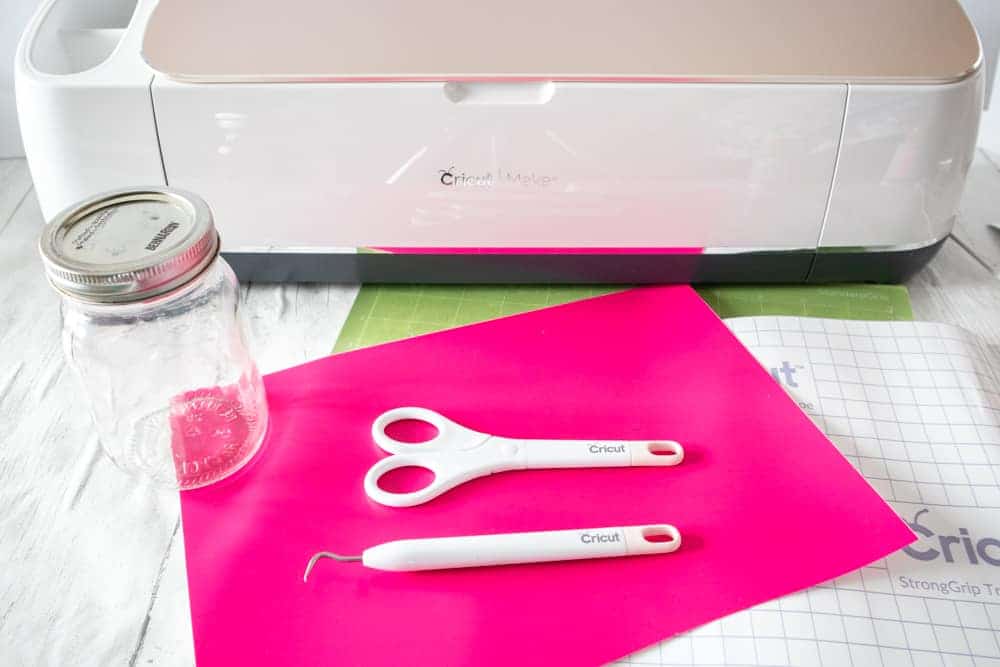
Materials Needed:
- Valentine’s SVG file
- Cricut Maker with fine point blade
- Standard grip mat
- Cricut Premium Vinyl, removable (pink from Vibrant Value Pack)
- Cricut transfer tape
- Mason jars, 16oz with lid
- Scissors
- Weeding tool
- Ribbon, 1⁄4″ wide
- Silver Hershey Kisses candy (or other candy of your choice)
Instructions:
Thoroughly wash jars with soap and hot water and let them dry completely before using.

Upload Valentines SVG file into Design Space.
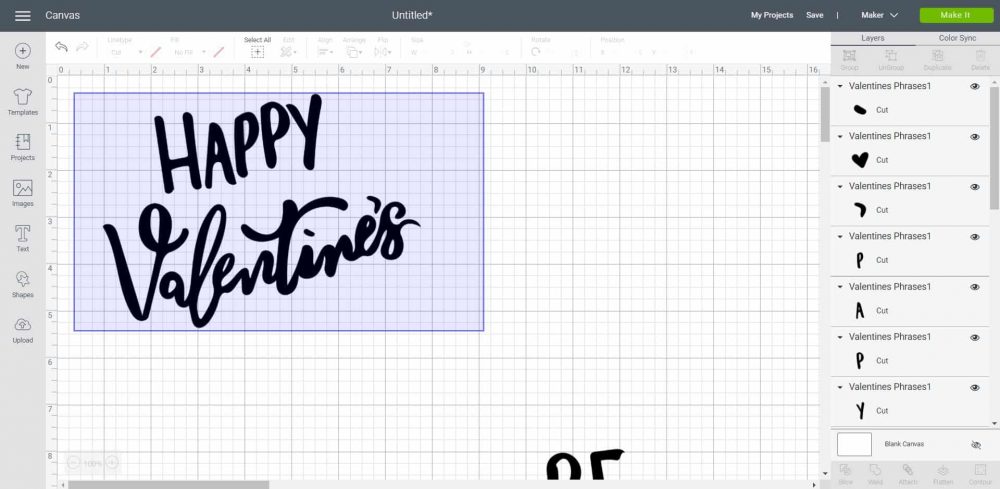
Click and drag over each of the phrases separately to adjust the size. Make “Happy Valentine’s” and “Sweet Heart” phrases sized to 2.75″ high and the “Be Mine” phrase sized to 2.25″ high on the Design Space canvas.
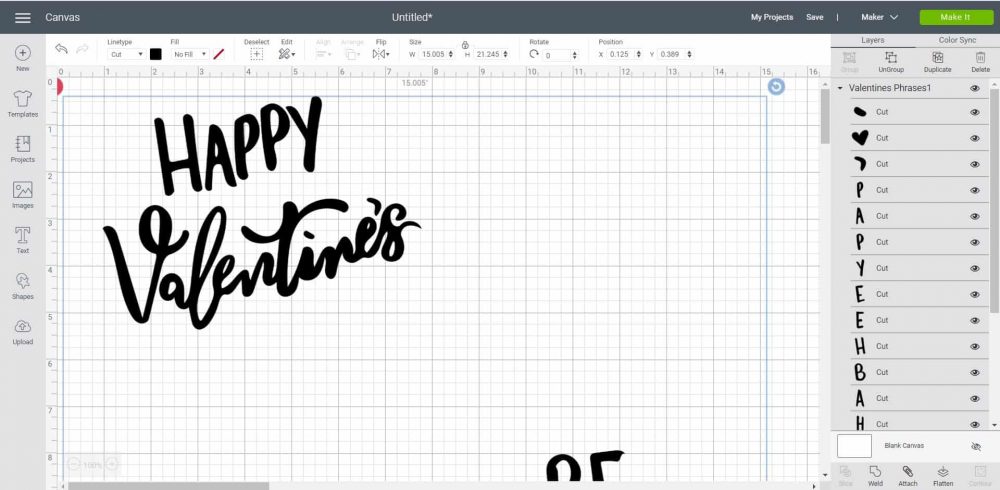
Next, click and drag each phrase separately, then select “Group” and then “Attach” before proceeding.
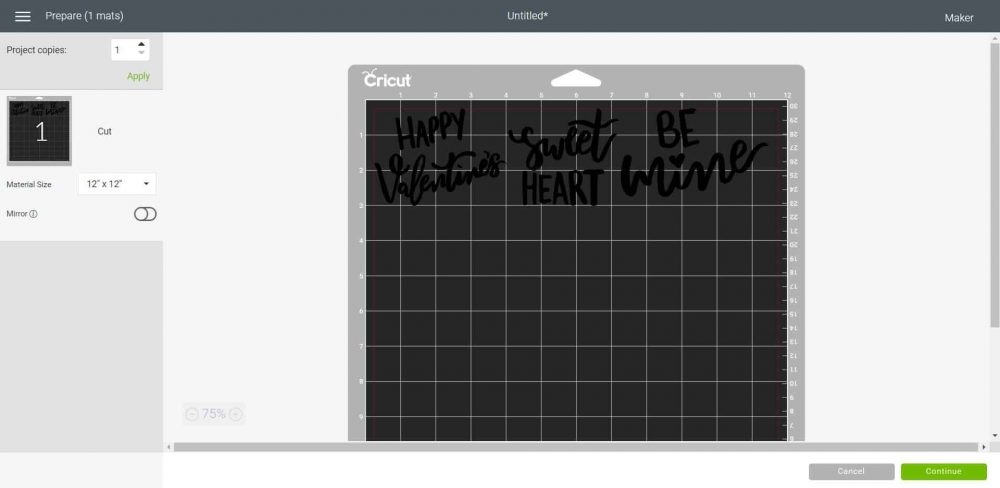
Select “Make It” in Design Space.
Set material type to Premium Vinyl.
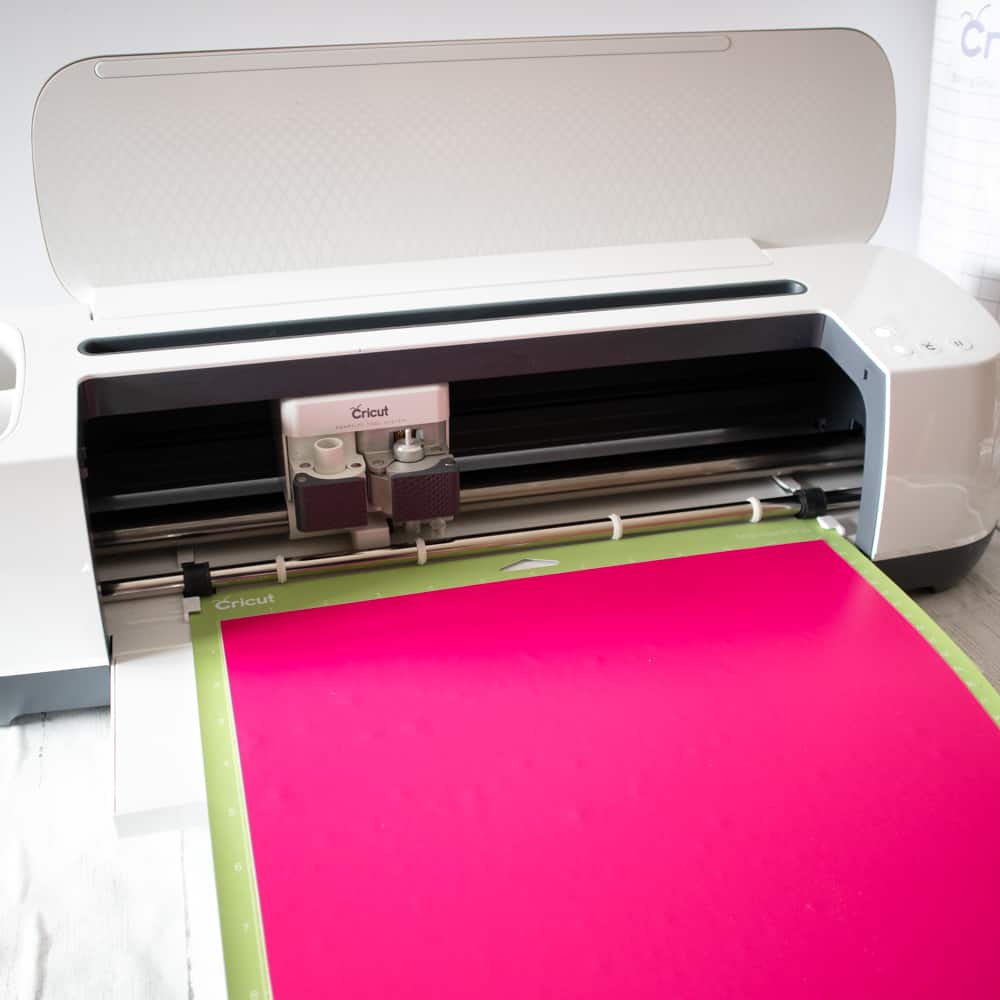
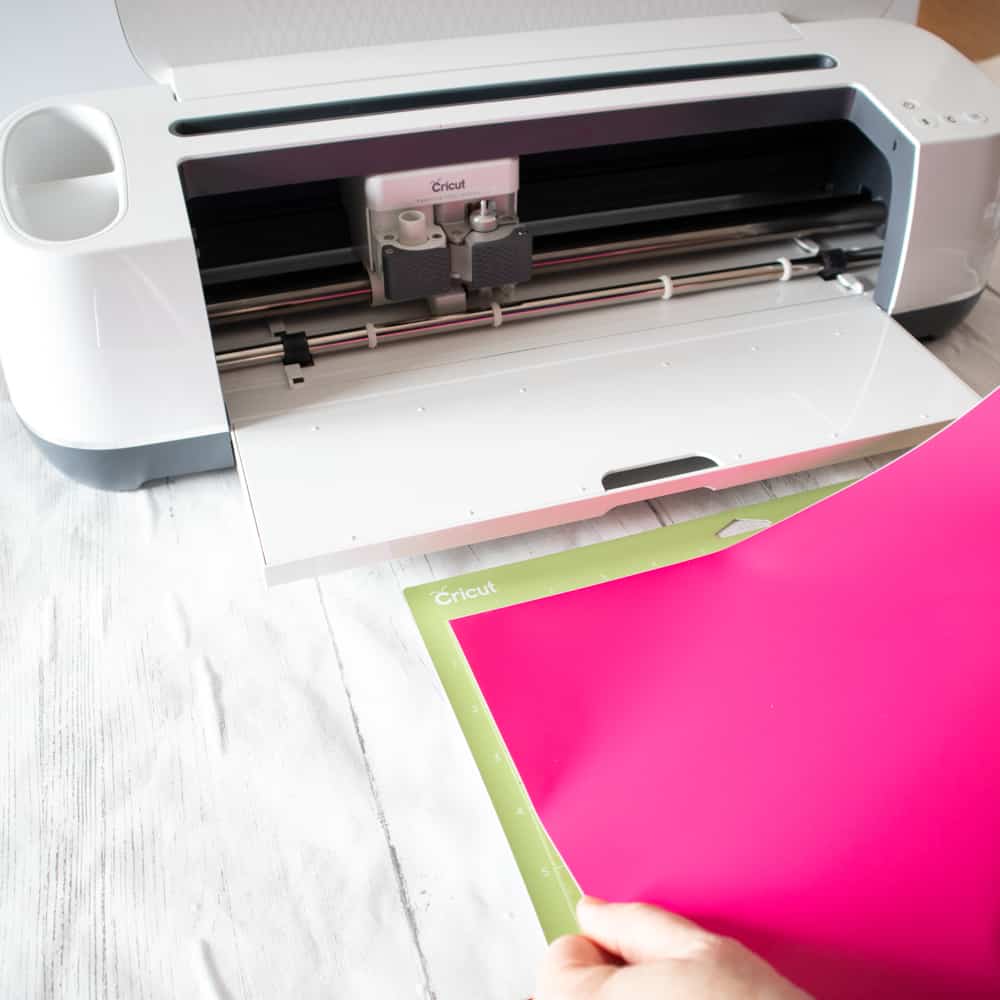
Follow prompts for loading mat into Maker and cutting the premium vinyl. When cut is complete, unload mat from the Maker.
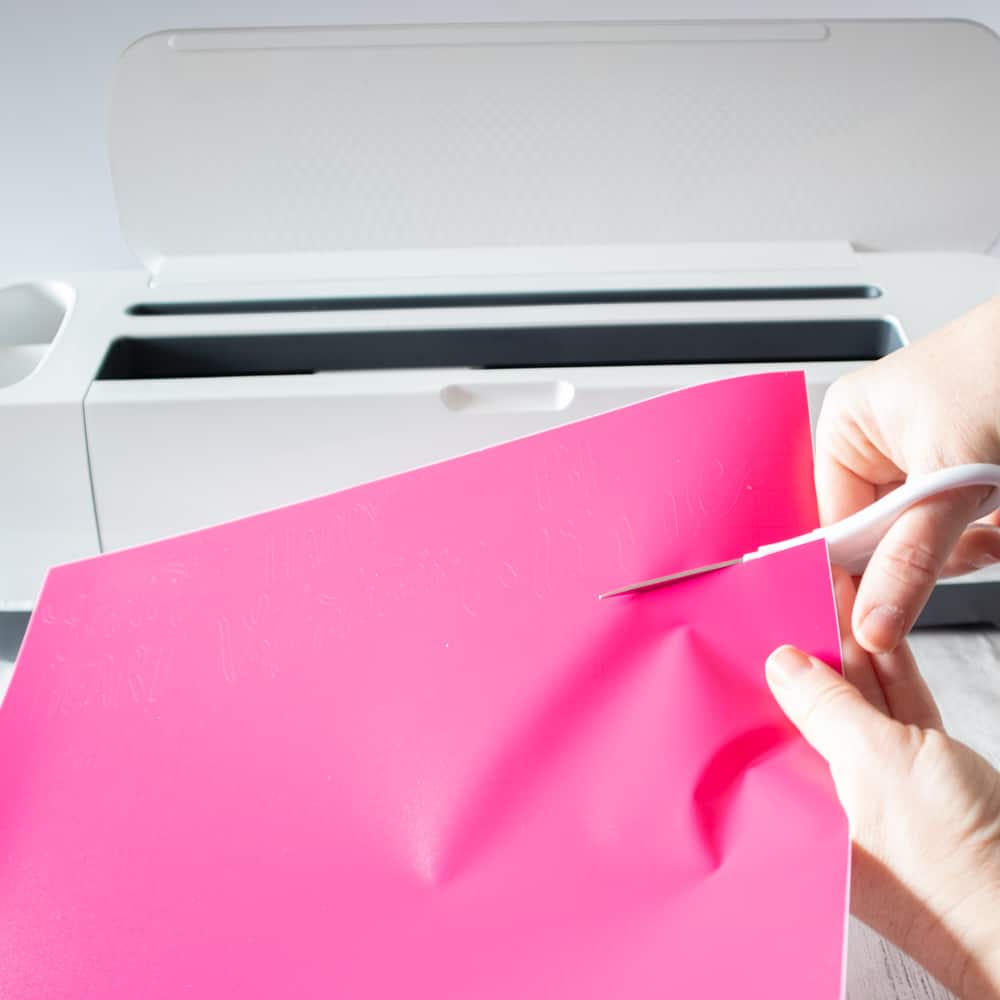
Remove the Premium Vinyl from the mat. Cut around each phrase with a pair of scissors. Using the weeding tool, peel away the excess vinyl around the cut phrases and discard.
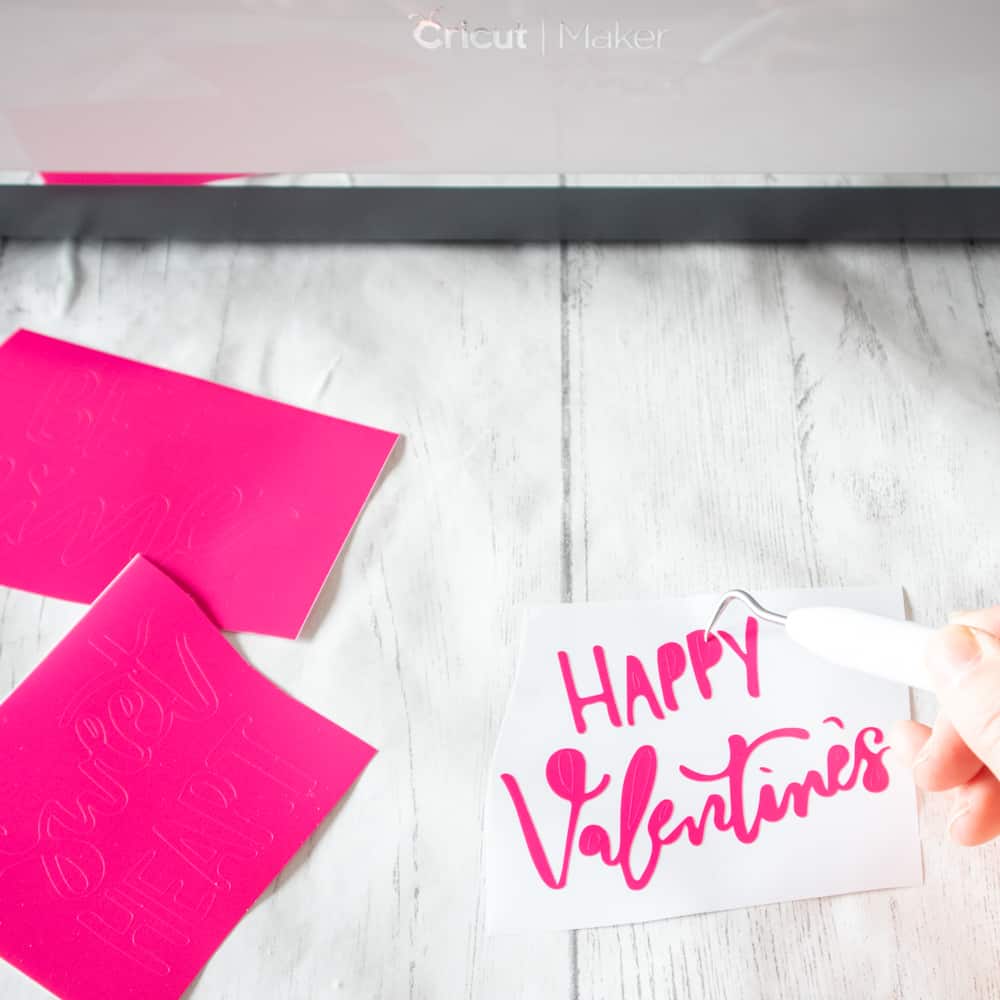
Cut a piece of transfer tape a bit larger than the size of the phrase. Peel away the transfer tape backing and place the transfer tape over the top of the vinyl phrase. Gently rub the vinyl to help it stick to the transfer tape.
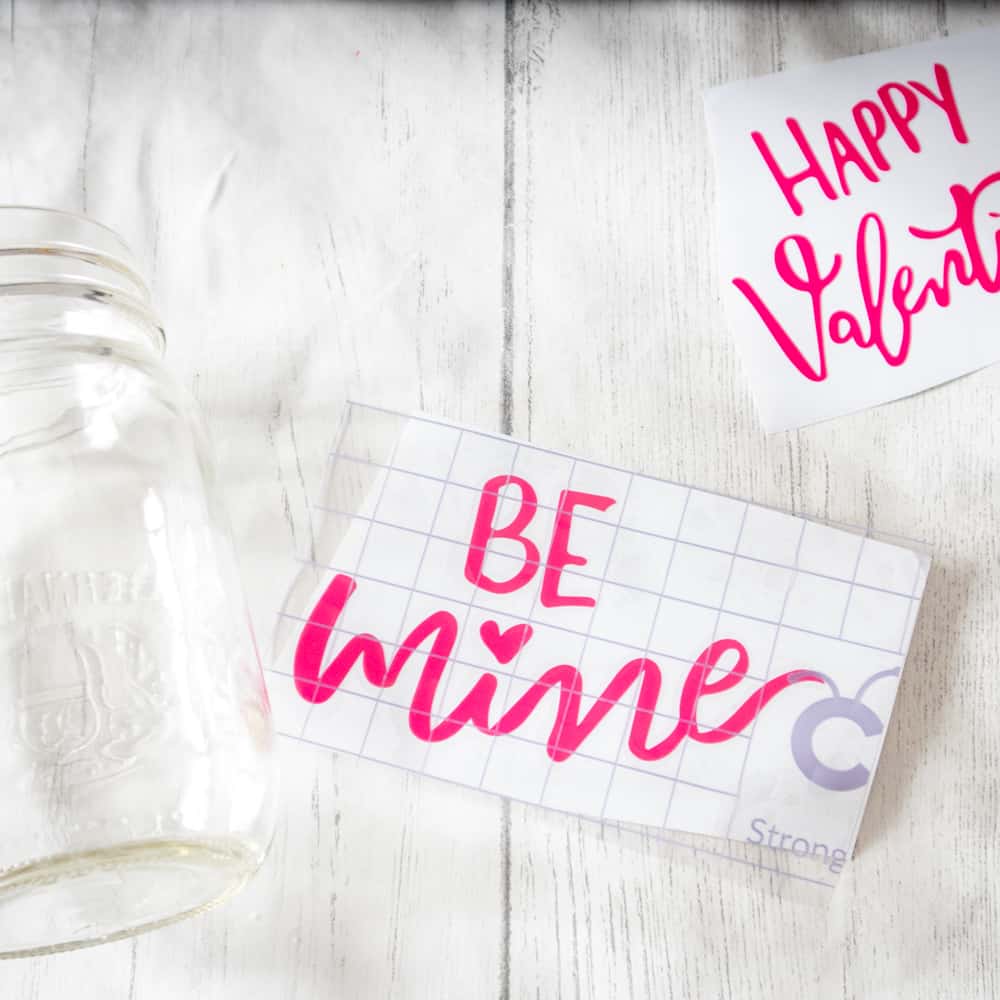
Peel away the vinyl backing, leaving just the phrase adhered to the transfer tape.
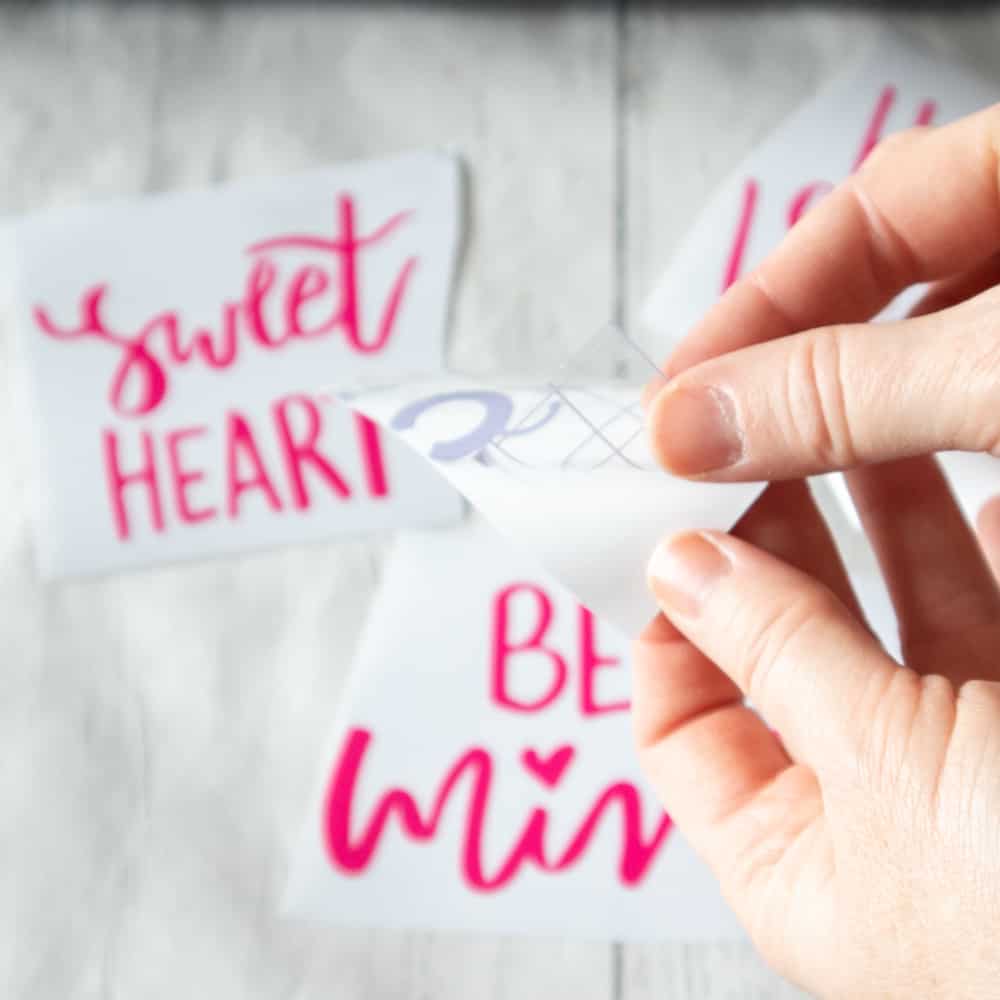
Position the phrase with the transfer tape on to the smooth side of a jar and press in place. You can place the lettering straight across or at an angle.
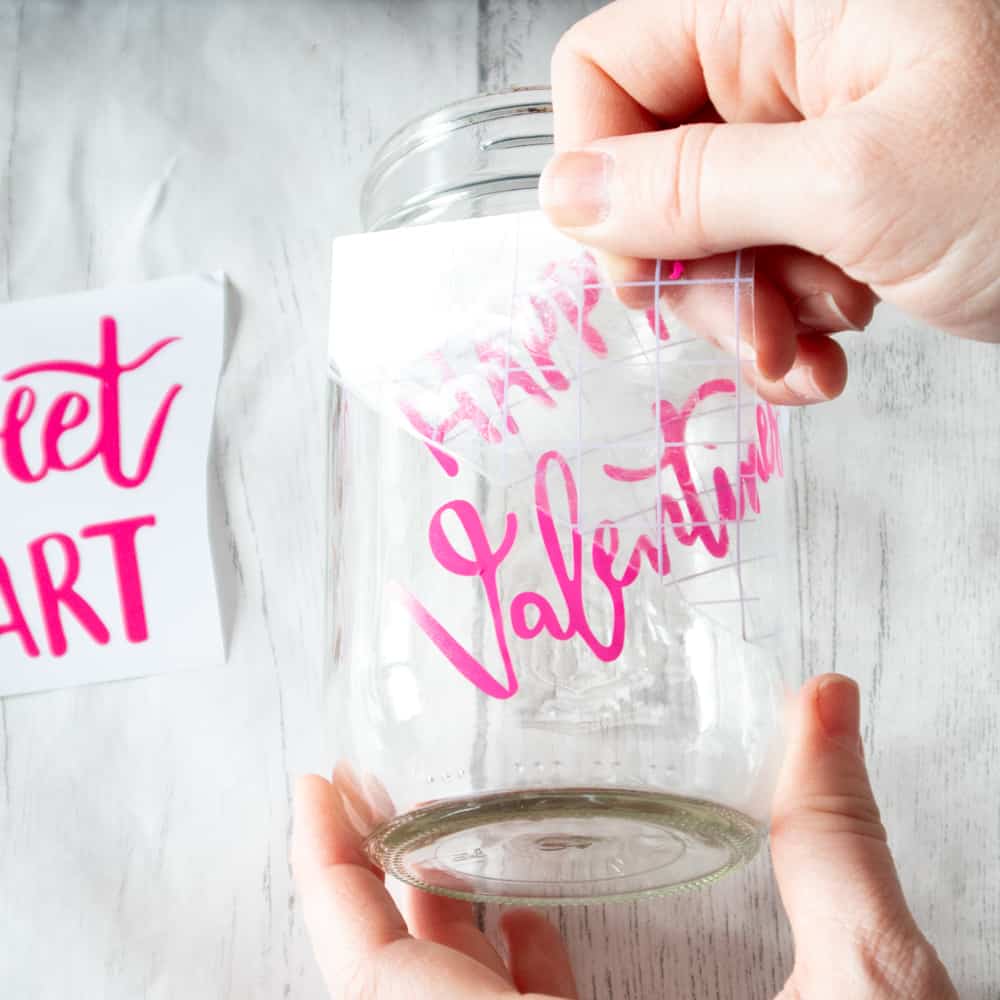
Press the vinyl phrase down with your fingers or with the Cricut scraping tool to help it to stick to the glass jar.
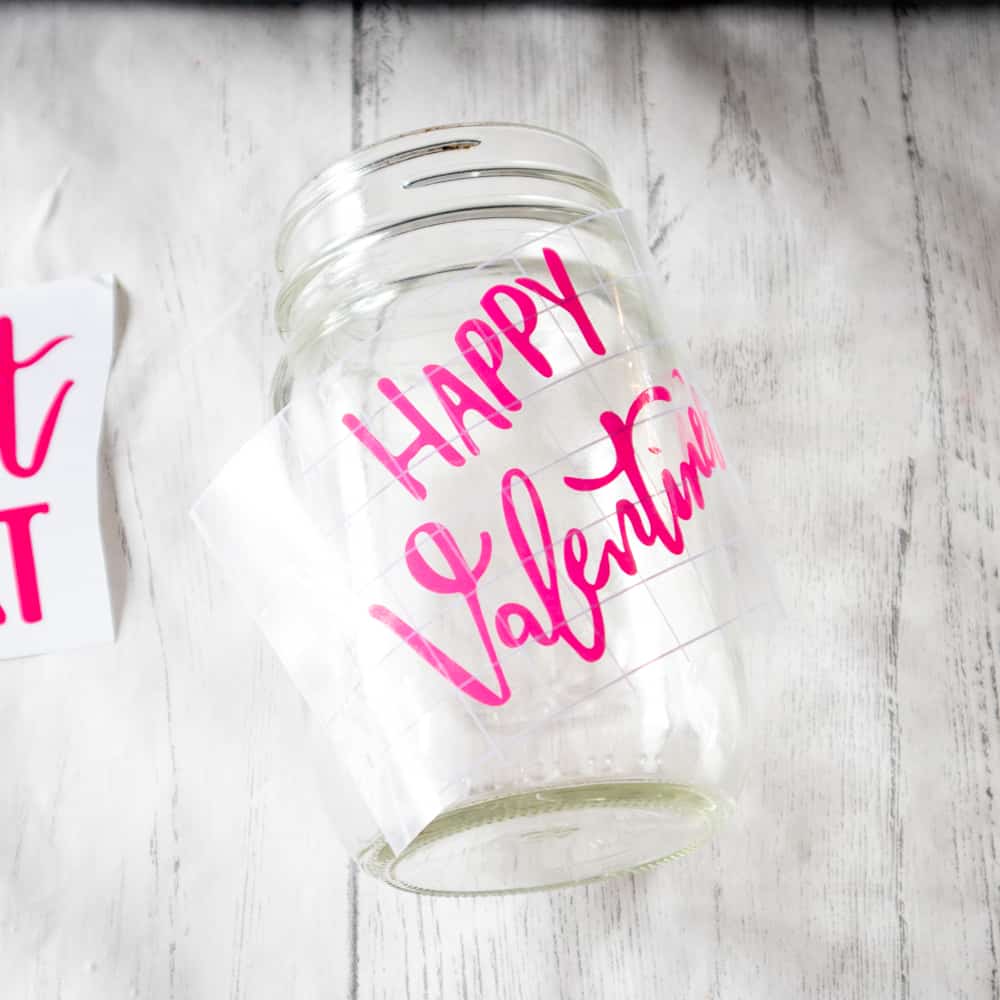
Slowly and carefully remove the transfer tape leaving the vinyl phrase on the jar. If your vinyl is not sticking, apply a little heat with a blow dryer.
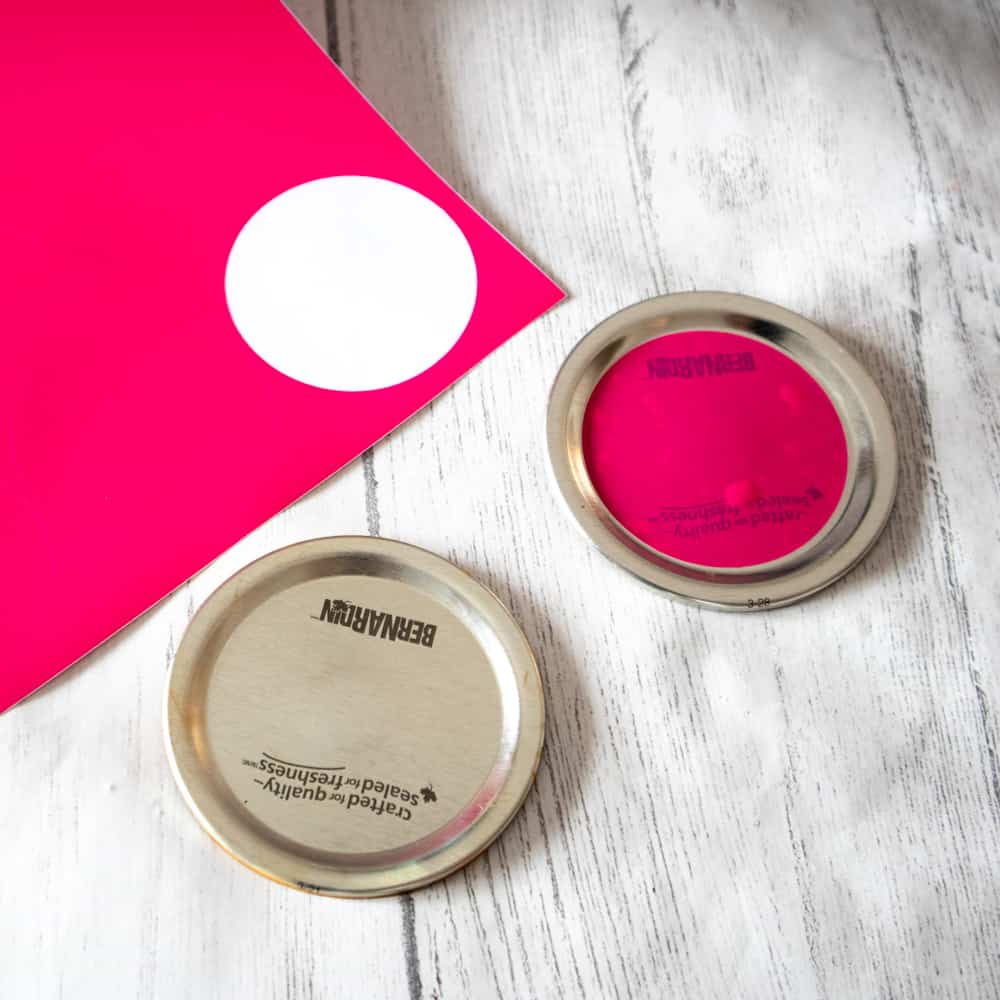
As an added option, you can cut circles from the same colored premium vinyl to cover the jar lid. Simply select the Shapes icon in the Design Space canvas and adjust size to 2″ or another size to fit your mason jar lid.
To finish, tie or glue a piece of ribbon around the jar lid. Fill the jar with sweet treats such as Hershey’s Kisses chocolates.
As I said, Cricut projects have learning curves. But these DIY Valentines treat jars are the perfect way to get you started and to have a fun craft to give to your sweetheart.