How to make a mask with bias tape
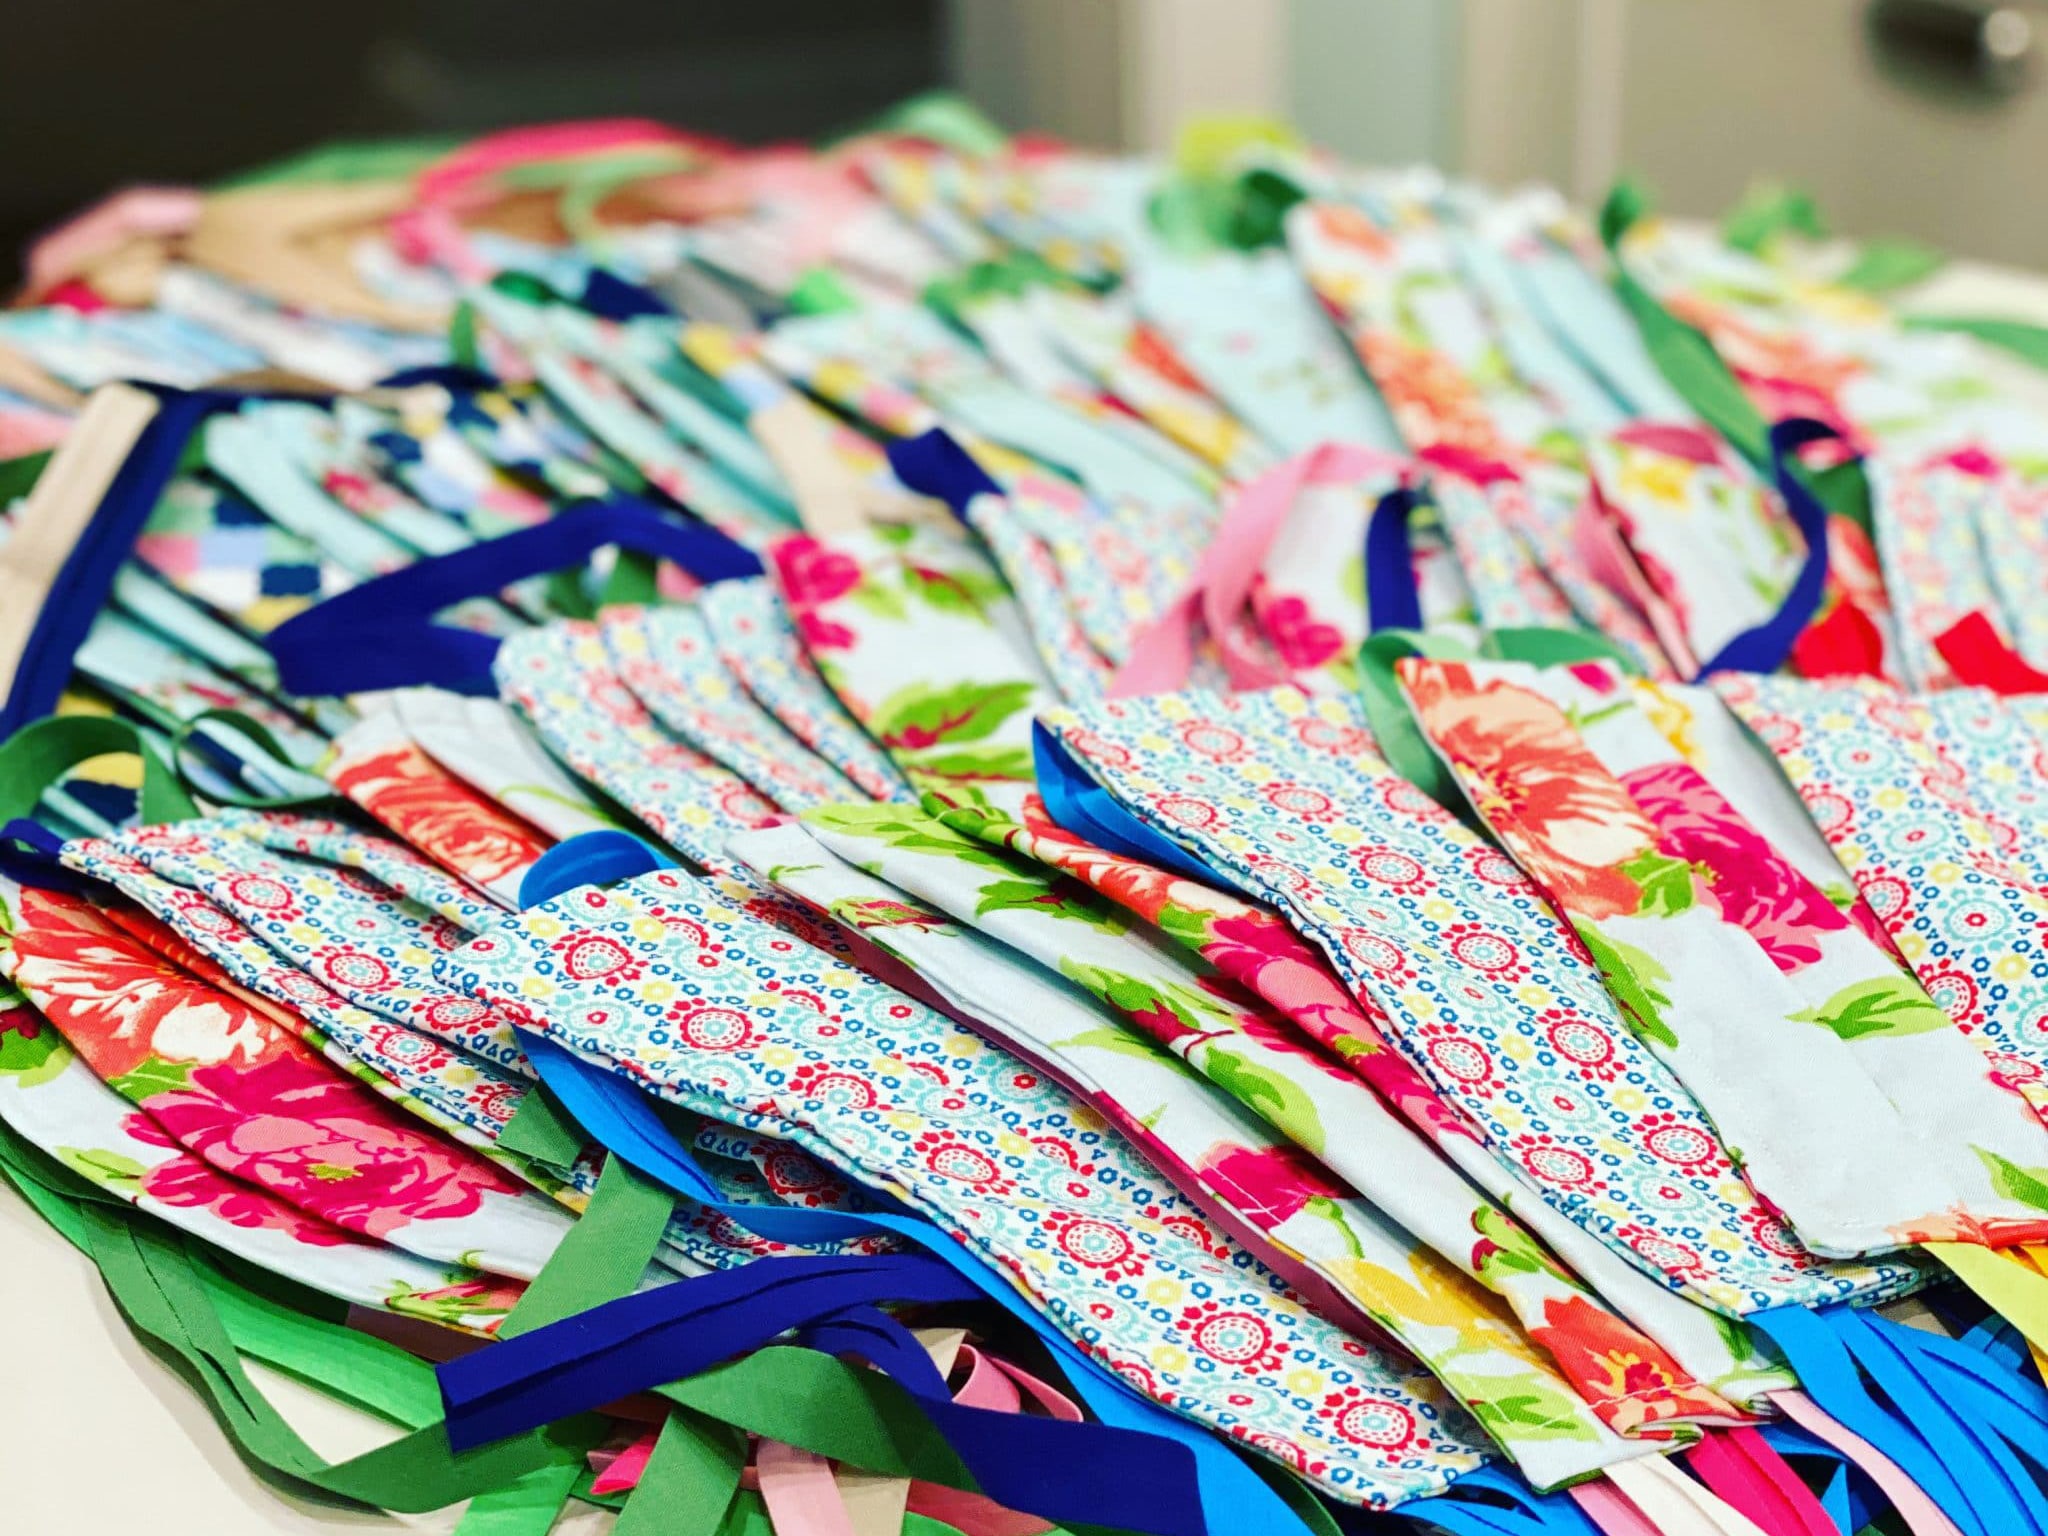
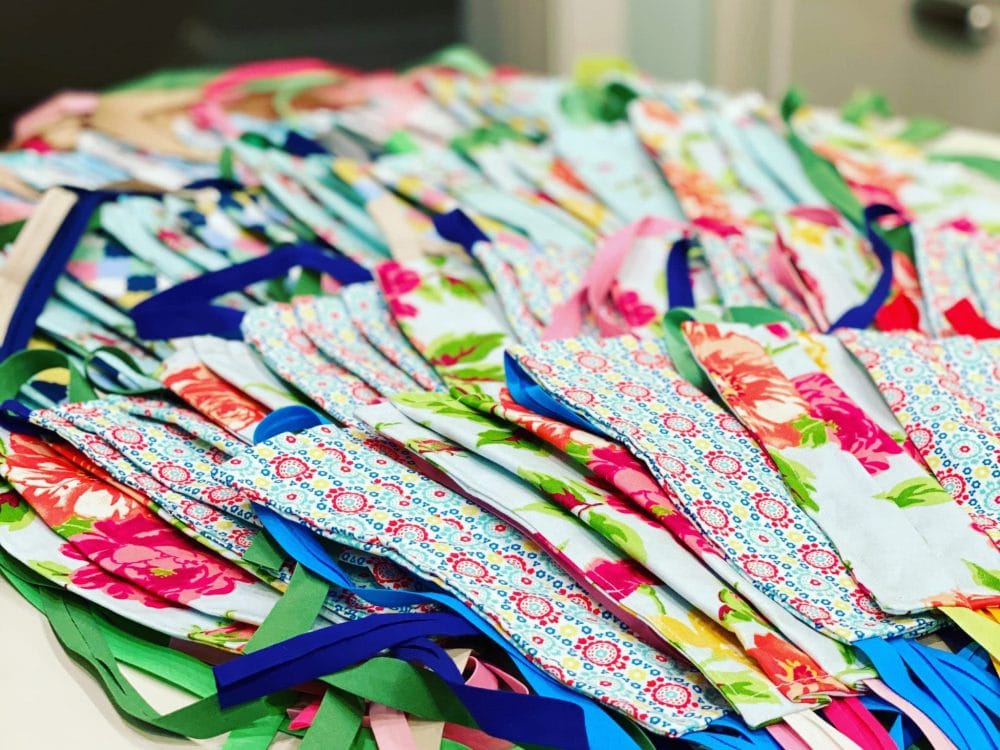
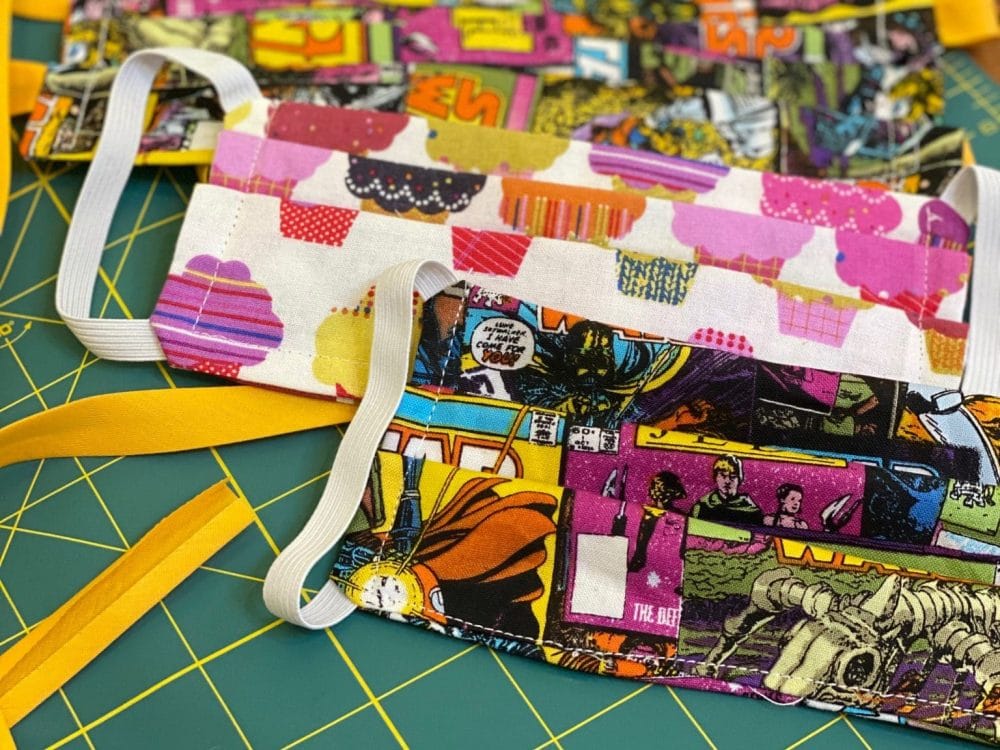
Now that we should all be wearing masks in public, and since elastic is in short supply, I spotted a need for fabric masks made with bias tape. Here's a quick tutorial on how we make ours.

We’ve been making masks for the last couple of weeks. First, because we thought those on the front lines might need them, but now it looks like we should all be wearing them when we go out in public. I’ve been sewing since I was little. Both my grandmother and mother have taught me. So we’re trying to pass on the same tradition with my daughters. Between the four of us girls, we’ve been making face masks for family, friends, and most importantly, those who risk their lives every day to care for us.

My sewing is not the best. I’m lazy and usually only sew for crafting projects as needed. This drives my mom nuts. But we still wanted to share how we are using bias tape for these masks instead of elastic.
Here’s a quick video of how we make them
How to make a mask
- Cut a 10″ x 12″ rectangle of fabric. Cotton works best.
- In the top half of the fabric, pin your 16″ bias tape strips seam side down to each corner in a DIAGONAL pattern.
- Fold over the fabric in half, lining up so all sides, sew together leaving a 2-inch opening.
- Cut each corner diagonally.
- Turn right-side out, pulling on the bias tape to make sure the corners are all out.
- Iron and pin your pleats in place.
- Iron again.
- Sew around the entire mask.
- Remove all the pins and iron one final time.

I hope this quick tutorial and accompanying video were helpful. There are so many great sites out there with patterns for you to use. I started out using one from Joann’s, but ended up changing it a bit to fit my process.
To all of those on the frontlines, risking their lives every day… THANK YOU. Thank you for all you are doing, and the sacrifices you are making to keep the rest of us safe and healthy. The least we can do is #SewTogether and #MaintainTheMask.
