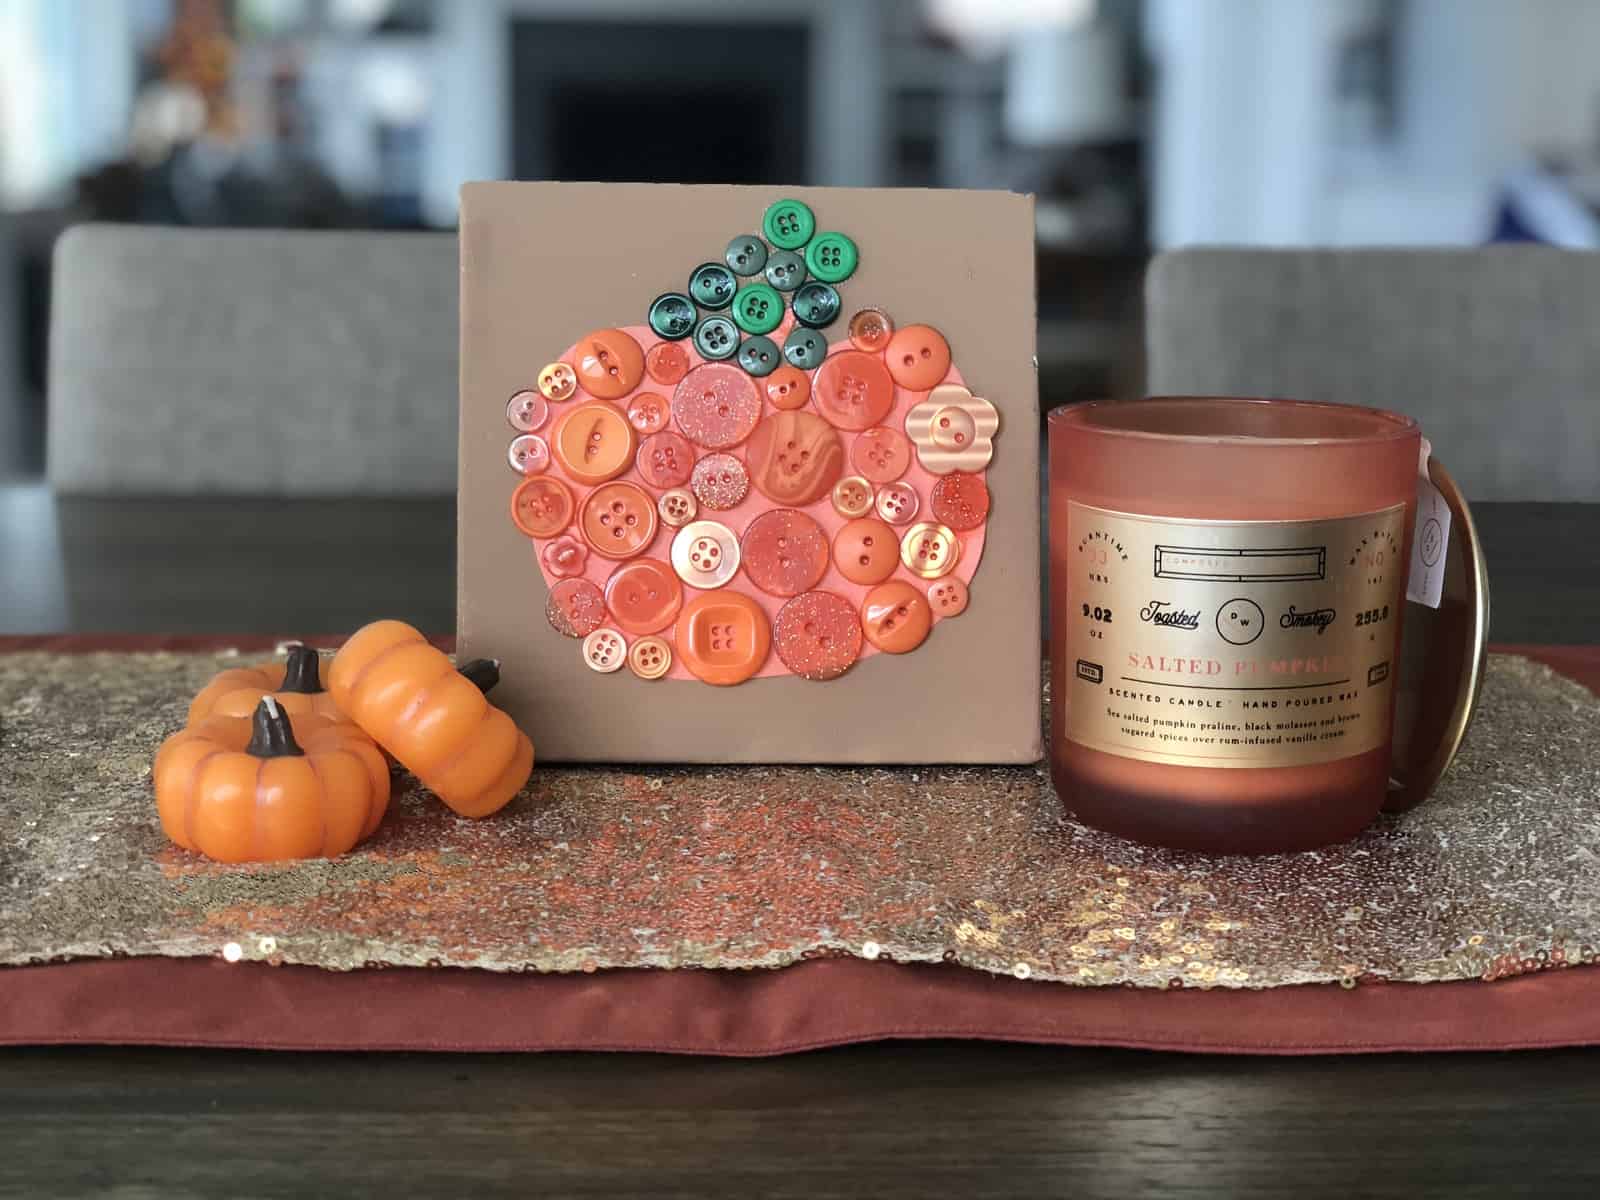
Easy fall crafts for kids: button pumpkin
I love holidays because I get to make fun projects with my kids. Walking through the craft store last week, Emma said she wanted to make pumpkins. After looking through my Halloween stash, I found the perfect project that I could do with both girls. Easy fall crafts for kids is a must around here, […]
I love holidays because I get to make fun projects with my kids. Walking through the craft store last week, Emma said she wanted to make pumpkins. After looking through my Halloween stash, I found the perfect project that I could do with both girls. Easy fall crafts for kids is a must around here, button pumpkins check that box!
What you’ll need
To make this quick and easy craft project, you’ll need orange and green buttons, glue, canvas, paint, and a foam brush. That’s it! Making a canvas button pumpkin is really easy, and a lot of fun for kids. Emma loves buttons. Anytime we do button art, I know she’s having a good time. Here’s how to make a quick, fun, button project your kids will love and a Fall decoration for your home.
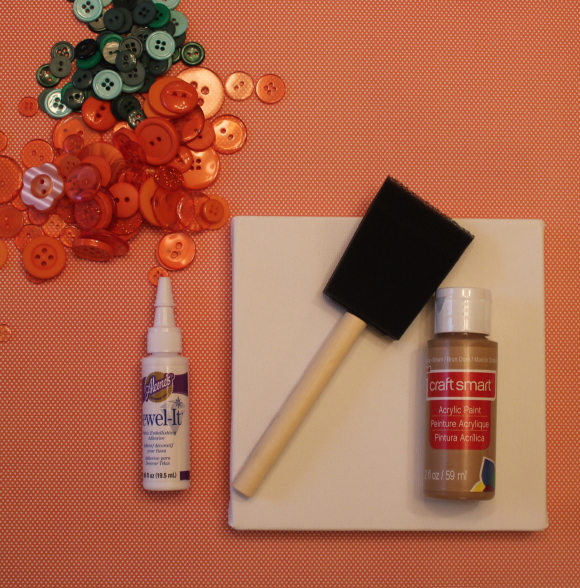
Gather your supplies: canvas, paint, paint brush, glue, and of course, lots of buttons. If you’re like me, and can’t draw to save your life. So print out a pumpkin to help create your shape. The great thing about the buttons, you can use different shapes and sizes so it doesn’t really matter what your drawing looks like since you won’t see it.
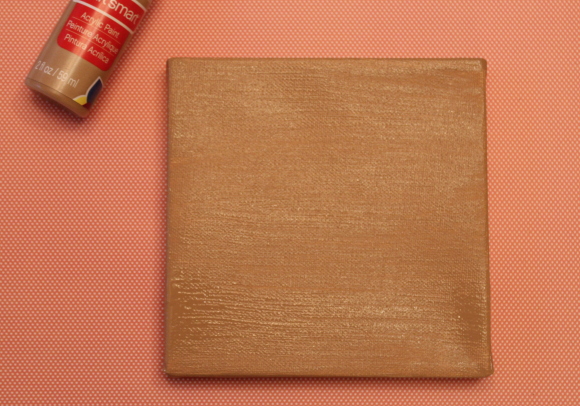
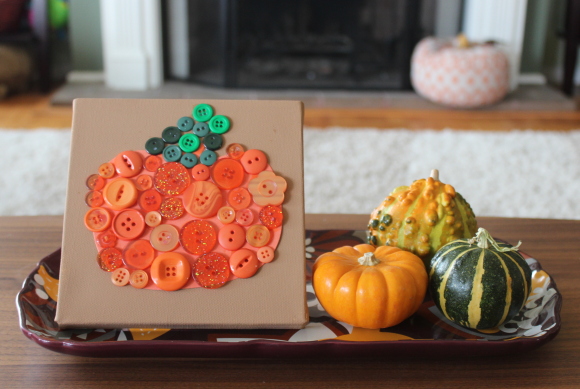
Paint your canvas the color you want your backdrop. We choose brown to compliment the orange and green. Plus we get to keep it around through Thanksgiving once Halloween passes. Once you paint your canvas, let it dry completely before moving on.
If you’re using a stencil, place the pumpkin cut-out on your canvas and draw a pumpkin. If not, a free hand drawing will work just fine. As I said, you won’t see the drawing in the end. Because we wanted to make sure our pumpkin really “popped” we glued our pumpkin to our canvas and used that as our guide.
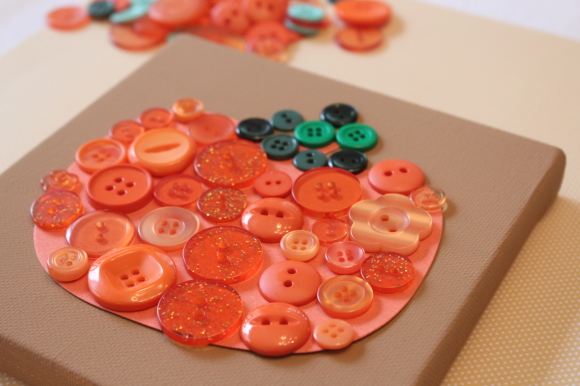
Gather your buttons and lay them out on your pumpkin cut-out or drawing. Once you have a great design, start gluing your buttons down. We picked up each button, added a drop of glue, and put the button back down. In the end, we filled in the outer area with smaller buttons to get the right shape. I think the more buttons you add, the better.
My daughter loves her project and ended up making another to give as a gift for her teacher. I love having a Fall decoration that my daughter made with me. It was a fun way to spend an afternoon. We both enjoyed it and it was really easy with very little mess to clean up. In the end, we’re all thrilled.
Have you tried button art? What craft projects have you made with buttons? This is one easy project that you can take out year after year. I know how much the girls love seeing crafts that they’ve done and ones that we can truly enjoy too.